Mywifiext, Net gear extender Setup, Mywifiext Setup, Mywifext Login - New Extender Setup Login

 Need to install or fix your Net gear WiFi range extender? Get quick solutions via Mywifext-setup.site by visiting the links below.

Step-by-Step Setup Guide for Net gear WiFi Extender

Here’s a step-by-step guide to installing your WiFi extender:

  1. Prerequisites Before Setup

Before proceeding with the Net gear WiFi range extender setup, ensure you have:

  • A working WiFi router
  • A computer, tablet, or smartphone
  • The default username and password of your extender
  • A stable internet connection
  • Proximity to the router for initial setup
  1. Methods to Set Up Net gear WiFi Extender

There are two primary methods to set up your Net gear WiFi extender:

  1. Using WPS (Wi-Fi Protected Setup) (Easiest method, no need for login)
  2. Manual Setup via mywifiext.net

Method 1: Setting Up Net gear WiFi Extender Using WPS

  1. Plug in your Net gear WiFi extender near your router.
  2. Press the WPS button on your Net gear extender.
  3. Within two minutes, press the WPS button on your router.
  4. Wait for the extender to establish a connection. The LED light will turn solid green.
  5. Relocate the extender to an area where WiFi coverage is weak but still within range of the router.
  6. Connect your devices to the extended network (SSID: YourRouterName_EXT).

Method 2: Net gear WiFi Extender Setup via www.mywifiext.net

  1. Plug in the extender and wait for the power LED to turn stable.
  2. Connect your computer or smartphone to the Net gear extender’s default WiFi network (Net gear_Ext).
  3. Open a web browser and enter mywifiext.net or http://mywifiext.local in the address bar.
  4. If the webpage doesn’t open, try again.
  5. Create an account or log in with your credentials.
  6. Follow the on-screen instructions to select your main WiFi network and enter the password.
  7. Complete the setup and place your extender at an optimal location.

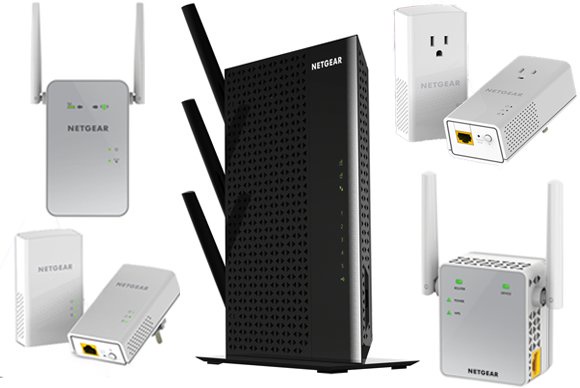
What Are MyWiFi Extenders - Mywifext-setup.site new extender setup

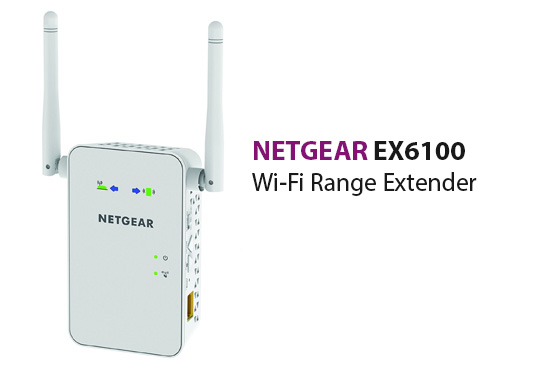
A Net gear WiFi extender is an excellent solution to eliminate dead zones and boost internet coverage at home or in the office. This comprehensive guide provides step-by-step instructions for setting up various Net gear WiFi range extenders, including models like Net gear EX3110, AC750, AC1200, EX6120, EX6100, and many more. Additionally, we will cover how to access the Net gear extender login page via www.mywifiext.net or http://mywifiext.local.

Net gear Extender Model-Specific Setup Instructions

Net gear EX3110 Setup

  1. Power on the EX3110 extender.
  2. Connect to Net gear_Ext WiFi network.
  3. Access mywifiext.net and log in.
  4. Choose your router’s WiFi network and enter the password.
  5. Follow on-screen steps to complete the setup.

Net gear AC750 WiFi Range Extender Setup (Model EX3110 & EX3700)

  1. Plug in the Net gear AC750 extender.
  2. Use WPS or log in via mywifiext.net.
  3. Follow the guided setup to connect it with your existing router.

Net gear AC1200 WiFi Range Extender Setup (Model EX6110 & EX6150v2)

  1. Plug in the extender and wait for the LED to stabilize.
  2. Connect to the default Net gear network.
  3. Visit mywifiext.net and complete the setup process.

Net gear Nighthawk AC1900 Setup

  1. Connect the Net gear AC1900 extender to power.
  2. Use WPS or manually connect via net.
  3. Follow the setup wizard and finalize the connection.

Advanced Features & Customization

How to Change Net gear Extender SSID & Password?

  1. Log in to mywifiext.net.
  2. Navigate to the Wireless Settings
  3. Modify the SSID (network name) and enter a new password.
  4. Save the settings and reconnect devices with the updated credentials.

Setting Up Net gear Extender as an Access Point

  1. Connect the extender to your router via an Ethernet cable.
  2. Log in to mywifiext.net.
  3. Select Access Point Mode.
  4. Configure settings and complete the setup.

How to Enable FastLane Technology?

  1. Log in to mywifiext.net.
  2. Navigate to FastLane Technology
  3. Choose between Device-to-Extender or Extender-to-Router mode for optimized performance.
  4. Apply settings and restart the extender.

Troubleshooting Net gear WiFi Extender Issues inMywifext-setup.site

1. Mywifiext.net Not Working

• Ensure you are connected to the Net gear_Ext network. • Clear your browser cache and try a different browser. • Use the default IP address. • Restart your extender and try again.

2. Net gear Extender Not Connecting to Router

• Make sure the extender is within range of the router. • Check if the router’s firmware is up to date. • Reset the extender and retry the setup.

3. Unable to Log in to Mywifiext.net

• Double-check your username and password. • Reset the extender to factory settings if necessary.

4. How to Reset Net gear WiFi Extender?

1. Locate the reset button on the extender. 2. Press and hold the button for 10 seconds. 3. The extender will restart and return to factory settings.

Optimizing Net gear WiFi Extender Performance

  • Place the extender in a central location between your router and the dead zone.
  • Ensure there is minimal interference from electronic devices like microwaves or Bluetooth devices.
  • Keep firmware updated by visiting Net gear support for updates.
  • Use a dual-band extender to enhance speed and performance.
  • Monitor signal strength and adjust placement accordingly.

www Mywifext-setup.site

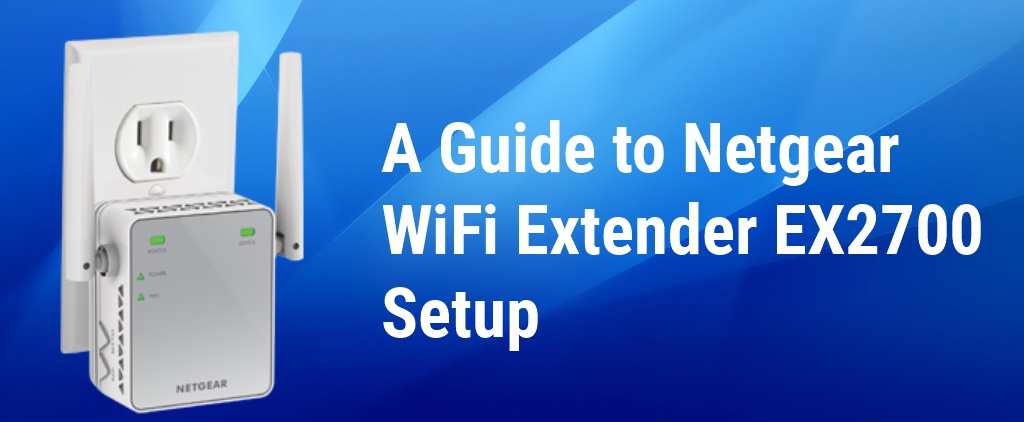
Setting up a Net gear WiFi extender is simple when following the correct steps. Whether you use WPS or a manual method via www.mywifiext.net, this guide ensures your Net gear extender is installed properly. If you encounter issues, refer to our troubleshooting section for quick fixes.

Boost your internet coverage and eliminate dead zones with your Net gear WiFi extender today!

For additional support, visit Net gear’s official support page or refer to the user manual for your specific model.

Keywords: Net gear WiFi range extender setup, Net gear EX3110 setup, Net gear AC750 setup, Net gear AC1200 setup, mywifiext.net setup, Net gear Nighthawk AC1900 setup, how to setup Net gear WiFi extender, Net gear WiFi extender setup without WPS, Net gear extender troubleshooting, optimize Net gear extender.

www,mywifiext net Optimizing Your WiFi Extender

Get the most out of your Net gear WiFi extender, keep these tips in mind:

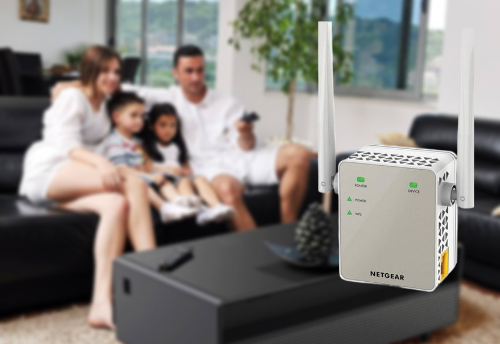
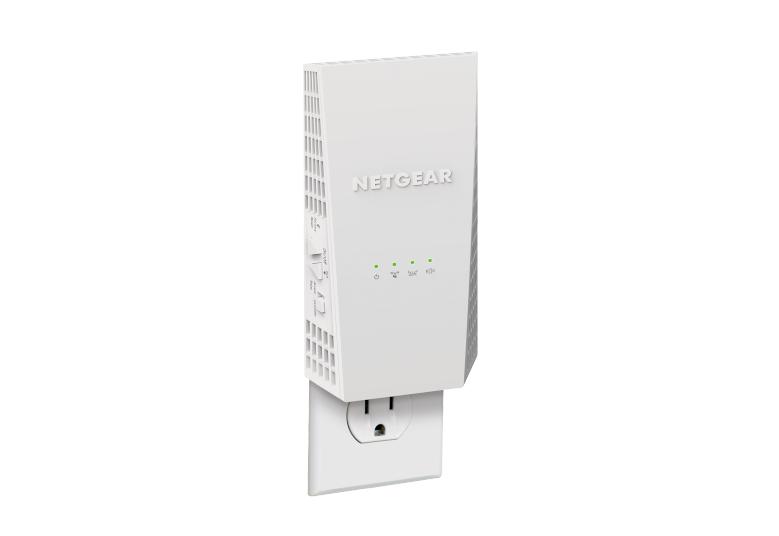
  • Strategic Placement: Place the extender in an undeveloped area away from walls and electronic devices that could interfere with the signal. Ideally, it should be about halfway between the router and the area where you need coverage.
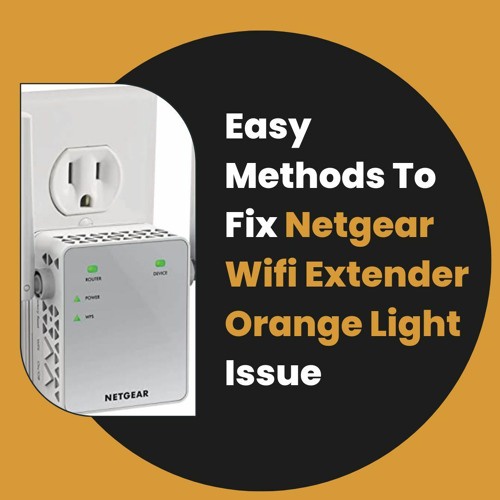
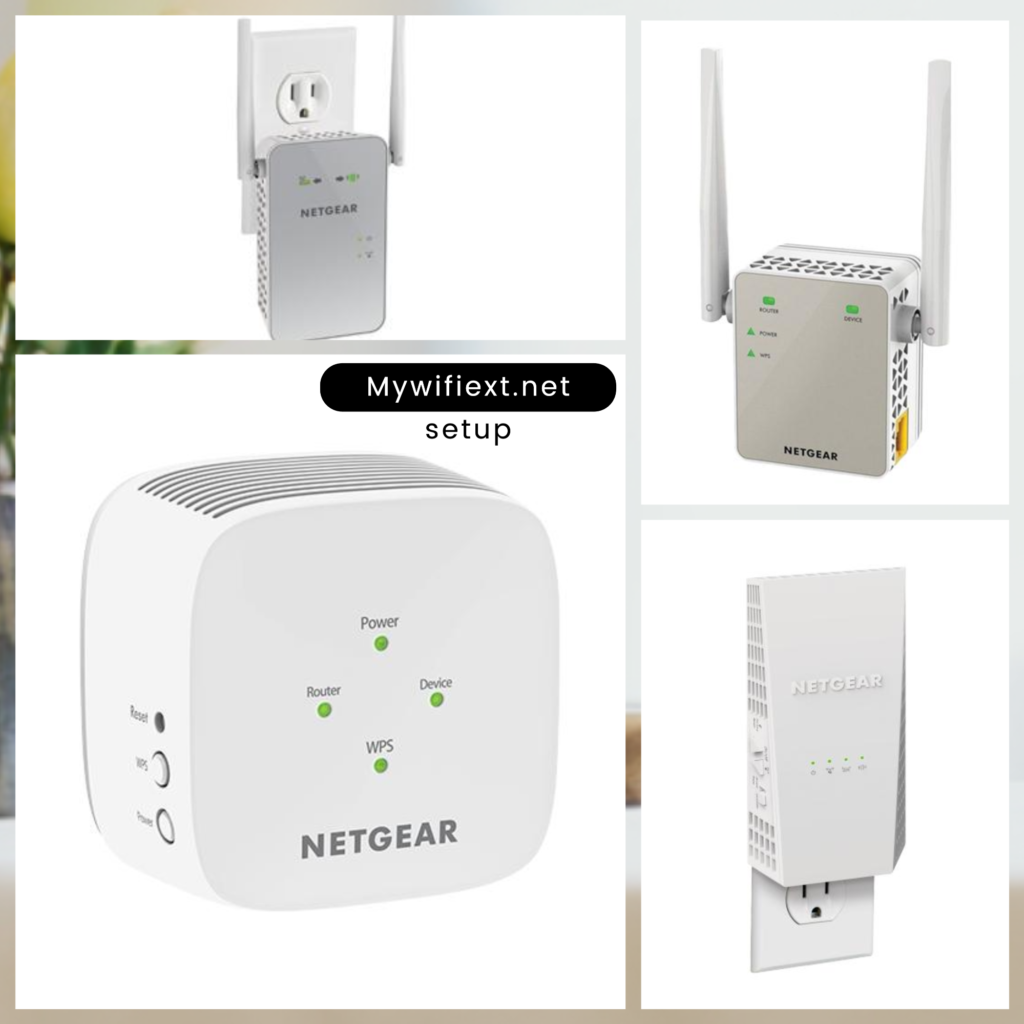
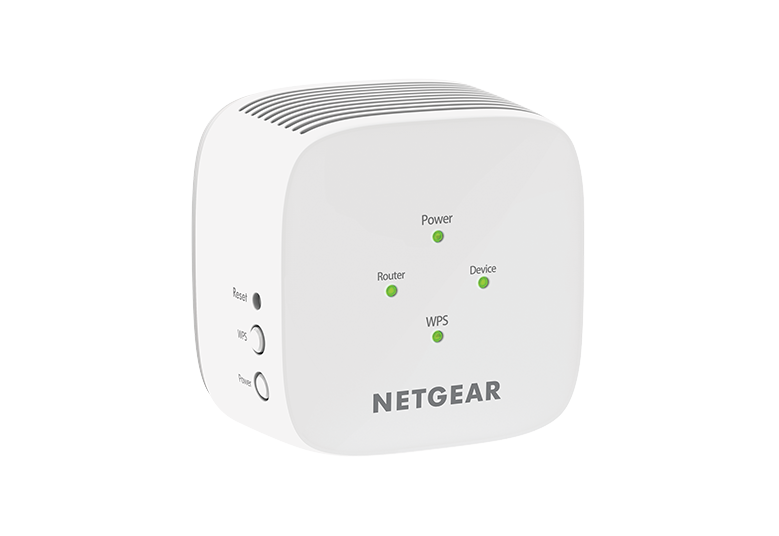
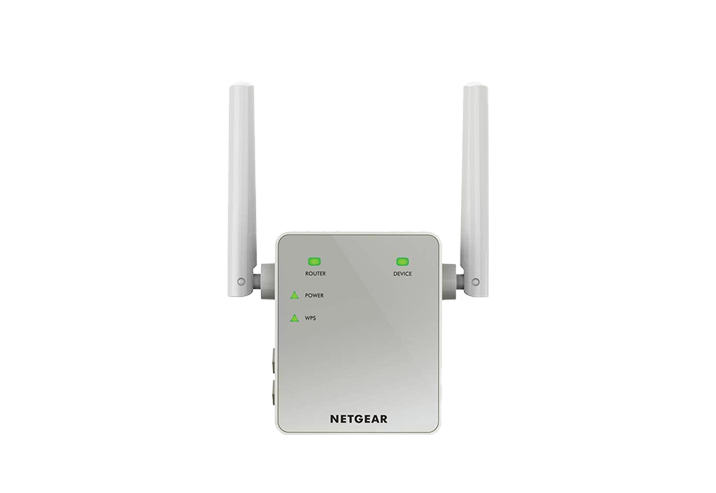
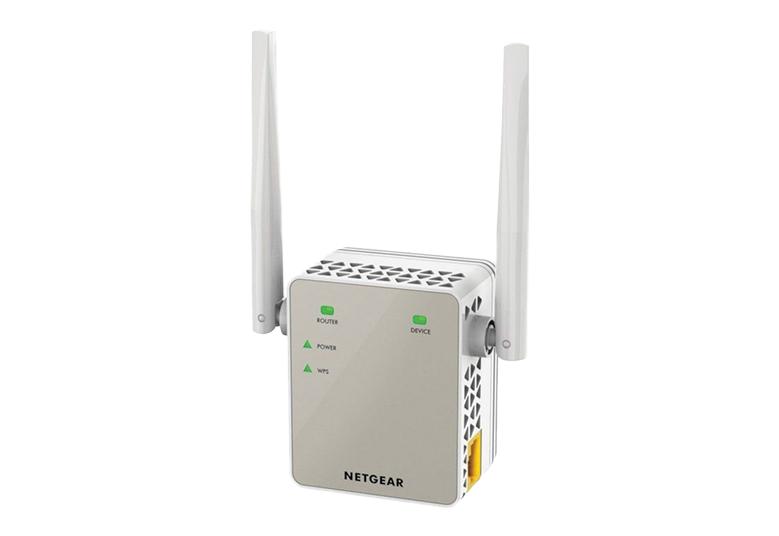
  • Check Signal Strength: Many extenders have LED indicators that show the strength of the connection to the router. These are handy for determining the optimal placement.
  • Update Firmware: Regularly check for firmware updates from Net gear. Keeping your extender’s software up to date can fix bugs and improve performance.
  • Use Ethernet Backhaul: If feasible, connect the extender to the router using an Ethernet cable for a more stable connection. This is particularly useful for high-bandwidth activities like gaming or streaming 4K video.

Looking For Mywifiext Help ?

FAQs About Net gear WiFi Extender Setup

Place the extender at the middle point between your router and the area with poor coverage. Do not place it near walls or objects that might interfere with the signal.

Yes, but make sure they are placed correctly so that signals do not overlap. For larger spaces, a mesh system may be a better option.

Extenders do not increase your internet speed but improve signal quality in weak areas, thus enhancing overall performance.

Mywifiext Set up for Net gears wifi range Extenders - Mywifext-setup.site Login

MyWiFi extenders are a great addition to improving the coverage and reliability of your wireless network. Whether you are dealing with dead zones, slow connections, or the challenge of connecting multiple devices, these extenders provide an effective solution. Understanding their features and setup process will help you to choose the perfect model for your home or office and enjoy uninterrupted internet connectivity. Goodbye to frustrating WiFi issues and seamless browsing anywhere in your space.